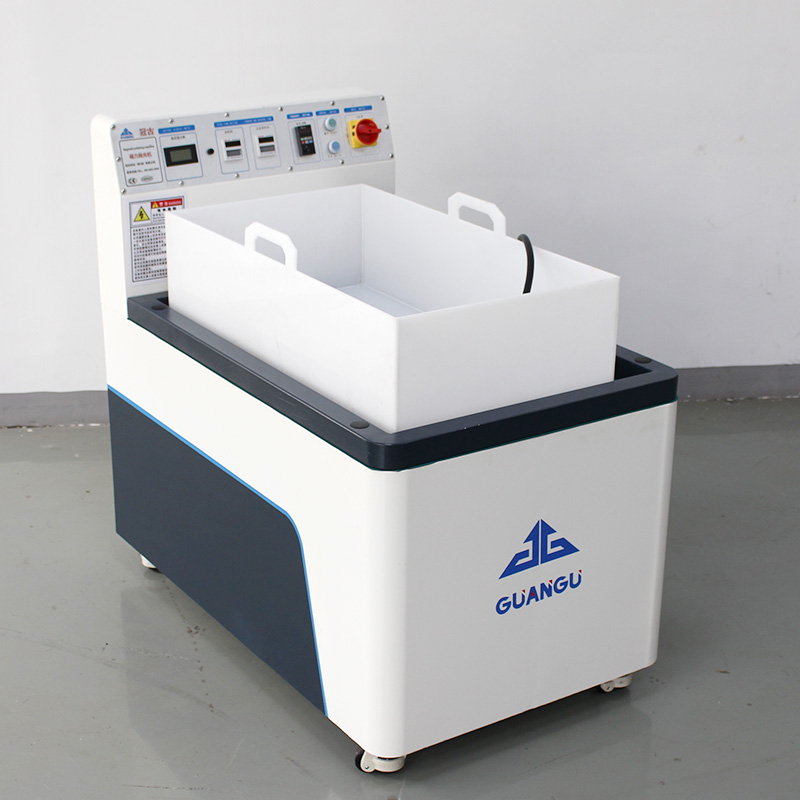

A magnetic polishing machine is essential for precision finishing, and the GUANGU model gives you exceptional value for your money. We want to deliver surface treatments that make a difference using technology to solve industrial aesthetics challenges. We want to deliver surface treatments that make a difference using technology to solve the bit of industrial aesthetics.
– Our focus is on making stainless steel polishing machines.
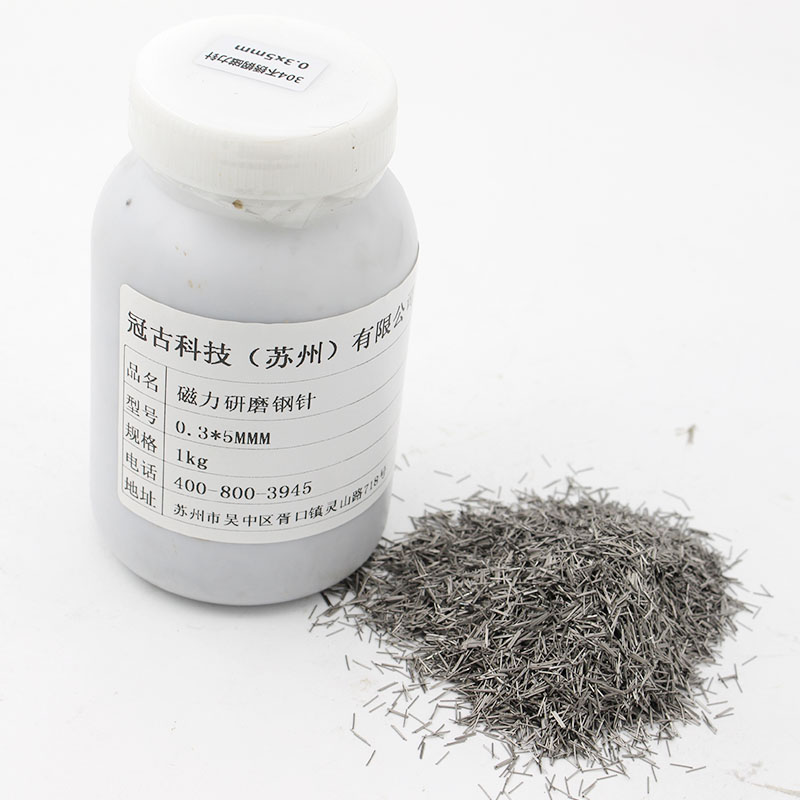
– We strive for excellence with our stainless steel precision pins for high-accuracy deburring with no corners.
– Our reputation is built on preserving workpiece dimensions and removing burrs and oxide layers.
– We prioritize speed completing a batch in 5-15 minutes, which’s way faster than manual labor.
You can learn more about the properties of steel and its uses in industry.
Step 1: Choosing the right combination for your magnetic polishing machine is key to success. The polishing pins are like 100,000 precision fitters.
– Pin selection is important:
For screws and precision electronic parts use 0.3 mm or 0.5 mm stainless steel pins.
For parts and sheet metal housings use 0.8 mm or 1.0 mm stainless steel pins.
For parts with blind corners and cross-drilled holes use 0.5-0.8 mm flat-head pins.
– The amount of stainless steel pins used depends on the machine model.
Step 2: Treat polishing fluid like a high-tech consumable.
Good polishing fluid is like spring rain it helps without being noticed.
– The standard formula is:
Water: just enough to cover the workpieces and polishing pins.
Stainless steel brightener: mix it with water but not too much or too little.
Step 3: Load the workpieces with care do not pile them up like a mess.
– For workpieces do not stack them use plastic dividers or process them separately.
– For parts with blind holes load them with the hole facing down.
– For parts lay a layer of pins at the bottom of the barrel and add a bit more water.
Step 4: Speed is not everything stability is key. We adjust the frequency based on the material.
– Frequency:
Polishing and deburring: 40-50 Hz.
Burr removal: 50-60 Hz.
Thin parts: 30-40 Hz.
– Time:
Light oxide removal: 3-5 minutes.
Standard polishing: 10-15 minutes.
Heavy scratch removal: 20-30 minutes.
Step 5: Separating workpieces should be smooth and easy.
– Remove the barrel and place it in the catch tray.
– Use the separation sieve to separate the workpieces from the pins and liquid.
– Finally rinse the workpieces with water and dry them.
Daily Troubleshooting Checklist, for steel.
If you have issues after polishing check this table:
Problem Observed | Most Likely Cause | Solution |
Rainbow tint / white haze on surface | Water stains | Switch to purified water and force-dry |
Yellow / brown spots | High-temperature oxidation or rust spots | Add passivation agent; shorten each polishing cycle |
Insufficient brightness | Worn pins or insufficient polishing agent | Check pin tip condition; replenish polishing/brightening agent |
Fine scratches | Pins too old, edges blunted or broken | Replace with new stainless steel pins |
Here is the rewritten text:
If you see a rainbow tint or a white haze on the surface of your stainless steel parts it is probably because of water stains. To fix this you should switch to using water and make sure to dry the parts completely.
If you notice brown spots it is likely due to high temperatures causing oxidation or rust spots. You can fix this by adding an agent to prevent this from happening and by making each polishing cycle shorter.
When your stainless steel parts are not shiny enough it might be because the pins are worn out or you are not using polishing agent. Check the condition of the pin tips. Add more polishing or brightening agent if you need to.
If you see scratches on the parts it is probably because the pins are too old and the edges are blunted or broken. In this case you should replace them with stainless steel pins.
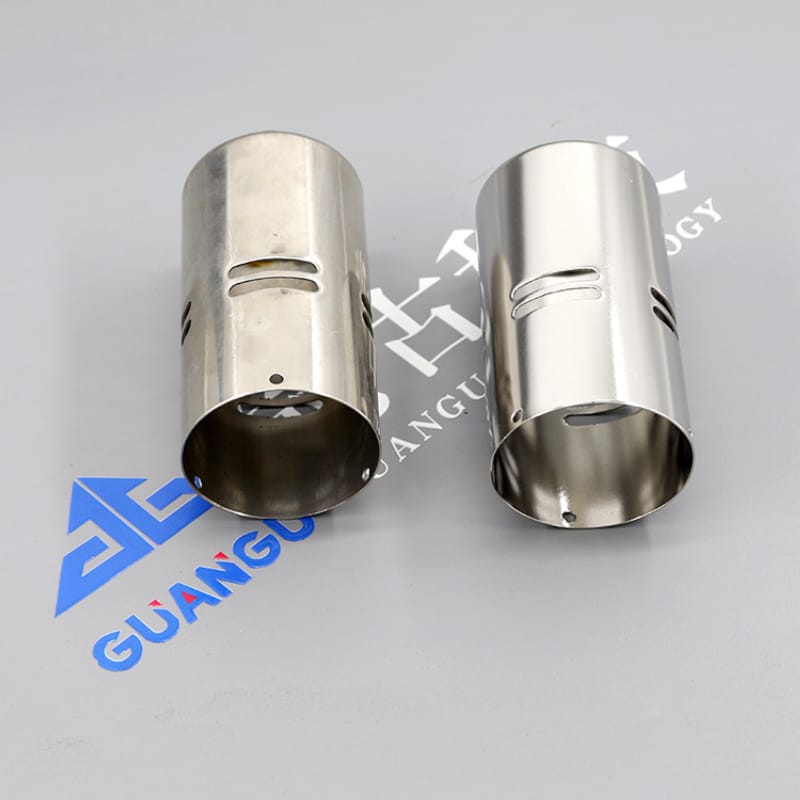
polishing methods can take a long time. Three hours for vibratory polishing and three years to master manual sanding.. With the Guangu metal polishing equipment you can get consistent and bright stainless steel parts in just a few minutes. The time it takes to drink a cup of coffee.
You do not have to be an expert to use the Guangu polisher. Even if you have never polished stainless steel parts before you can still get results as long as you can pour water and press a button. This means that you can polish parts better than someone who has been doing it for ten years.
This is what we mean by democratization. This is the mission of Guangu polishing.
We do not make stainless steel parts. We help them look their best. Giving them a surface finish is the last step in making industrial metal components.
You can look at our metal polishing machines, in our shop. If you want to learn more you can visit our knowledge base. Contact us directly.
Professional manufacturer of magnetic polishing & deburring machines for metal,precision parts. View all posts by guangu_Germany
Matching polishing equipment for you based on your product and production capacity.
No account yet?
Create an Account
 Product Category – Mirror polishing machine
 Product Category – Magnetic Pin